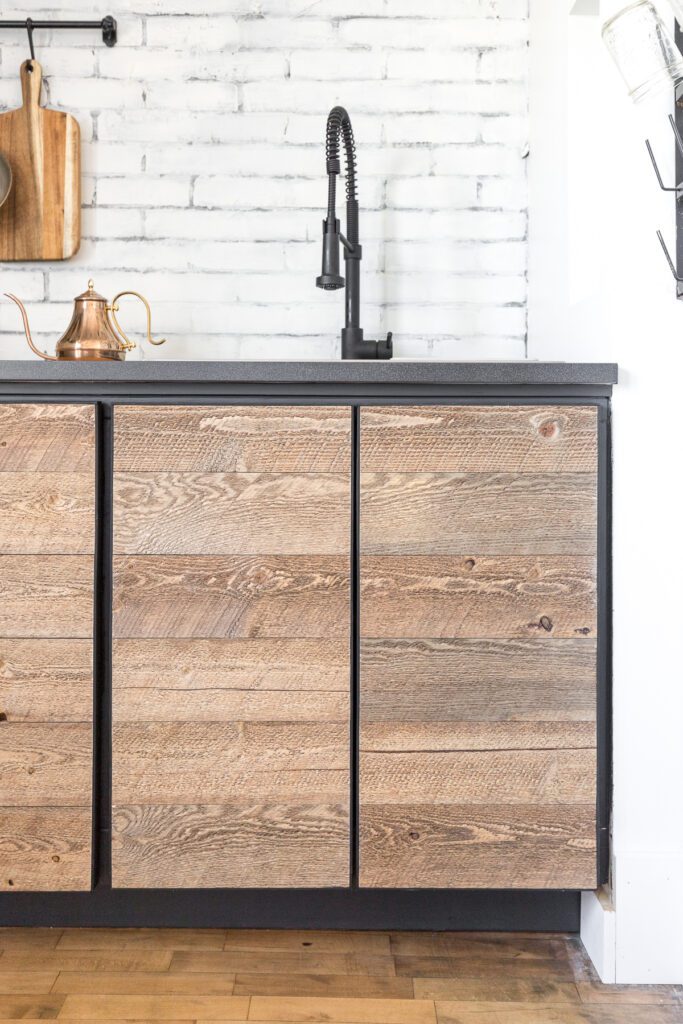
Are you in need of a modern and stylish dresser that won't break the bank? With our step-by-step instructions and printable building plans, you can easily create a mid-century inspired dresser using just basic 2x4s and plywood!
Before we dive into the building process, let's take a moment to introduce our manufacturing production factory enterprise, Guangxi Xinhan International Trade Co., Ltd. Our registered capital of 8000000 US dollars places us within the wood and building plate industry. We specialize in producing red formwork, coated board, solid wood multiboard, and wood trim panel. As part of Laibin municipal government's investment project, we prioritize using high-quality materials to create durable products that meet our clients' demands.
Now, let's get started on building your very own modern dresser! Here's what you need:
- 2x4s for the frame
- Plywood for the panels
- Screws
- Wood glue
- Sandpaper
- Stain or paint (optional)
Step 1: Cut the 2x4s to size
Using a saw, cut your 2x4s to the following lengths:
- 4 pieces at 32 inches (for the side frames)
- 4 pieces at 16 inches (for the top and bottom frames)
- 8 pieces at 5 1/2 inches (for the drawer supports)
Step 2: Assemble the frame
Using wood glue and screws, assemble the four 32-inch pieces and four 16-inch pieces to create the rectangular frame of the dresser. Make sure the corners are square and the frame is level.
Step 3: Install the drawer supports
Attach the eight 5 1/2-inch pieces between the side frames at equal intervals to create support for the drawers.
Step 4: Cut the plywood panels
Using a saw or circular saw, cut the plywood into the following panels:
- 2 pieces at 30 1/2 x 15 inches (for the top and bottom shelves)
- 2 pieces at 30 1/2 x 10 3/4 inches (for the side panels)
- 5 pieces at 27 x 10 3/4 inches (for the drawers)
Step 5: Attach the plywood panels
Using wood glue and screws, attach the plywood panels to the frame. Start with the top and bottom shelves, then attach the side panels.
Step 6: Create the drawers
Using the remaining plywood panels, cut five pieces at 24 x 10 3/4 inches (for the drawer fronts) and five pieces at 24 x 7 3/4 inches (for the drawer backs). Sand the edges of each piece.

Using wood glue and screws, assemble the drawer boxes by attaching the drawer fronts and backs to the sides of the drawer using the drawer supports you installed earlier. Make sure the drawers slide in and out smoothly.
Step 7: Finish and customize
Sand any rough patches and edges before applying your desired stain or paint finish. Add drawer handles or knobs to customize your dresser to your liking.
And voila! You now have a modern and functional dresser that you can proudly display in your home. With the use of high-quality materials from Guangxi Xinhan International Trade Co., Ltd., you can rest assured that your dresser will be durable and long-lasting. Happy building!